
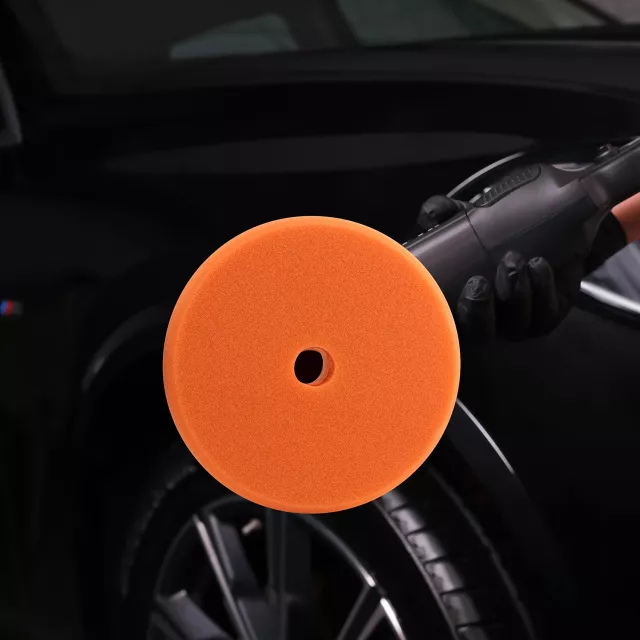
Deep swirls, oxidation, and heavier paint defects usually need a more aggressive first step before refining and protecting. A heavy-cut foam pad is built to level defects efficiently while maintaining control, making it a practical choice for enthusiasts and detailers tackling neglected paint, harder clear coats, or time-sensitive corrections. For more guidance, see Foam Pads Guide.
A heavy-cut foam pad is made for the correction stage where the goal is measurable defect removal—not just gloss enhancement. When paired with a true cutting compound, the firmer foam structure increases mechanical cut compared with softer polishing or finishing foams, helping reduce moderate-to-heavy defects like swirls, water spot etching, haze, and oxidation. For further reading, see Polisher/Buffer recommendations for applying Osmo/Rubio?.
The biggest advantage is creating a strong “correction baseline.” Once the defects are leveled, a follow-up polish (and then protection) can restore clarity and maximize gloss. For best results, focus on controlled pressure, a slow arm speed, and keeping the pad clean during the job so the foam pores keep cutting consistently rather than smearing residue.
A 5-inch pad hits a practical sweet spot: it covers enough area to move efficiently across doors, hoods, and fenders, but it’s still nimble on A-pillars, bumpers, and tighter contours. It also commonly pairs with 5-inch backing plates, which can improve stability and reduce stalling on many dual-action (DA) polishers—especially on curved panels.
Because smaller pads are easier to keep flat, they can help reduce edge loading on contours when technique is correct (pad flat, minimal tilt). That matters on modern body lines where a larger pad may feel bulky or “walk” across complex curves during spot correction.
Pad choice is only half of the equation; the compound and machine determine how quickly defects level and how much refining is needed afterward.
| Goal | Suggested pairing | Notes |
|---|---|---|
| Remove oxidation & heavy swirls | Cutting compound + DA polisher | Work small sections; clean pad frequently |
| Level heavier defects on hard clear | Stronger compound + DA/rotary | Follow with polish to restore clarity |
| Spot correction on tight curves | Medium/heavy compound + 5-inch pad | Reduce pressure to avoid edge bite |
| Refinement after cutting | Switch to polishing/finishing pad + polish | Improves gloss and reduces haze |
Consistent results come from process. A heavy-cut pad can correct quickly, but the same aggressiveness can also create extra haze if the pad is dry, clogged, or overheated.
For additional technique guidance and system compatibility, it helps to reference established manufacturer and training resources such as 3M’s Perfect-It system overview, Meguiar’s educational content, and best-practice training from the International Detailing Association.
Heavy-cut work generates more residue and heat than finishing, so pad care has a direct impact on performance and safety.
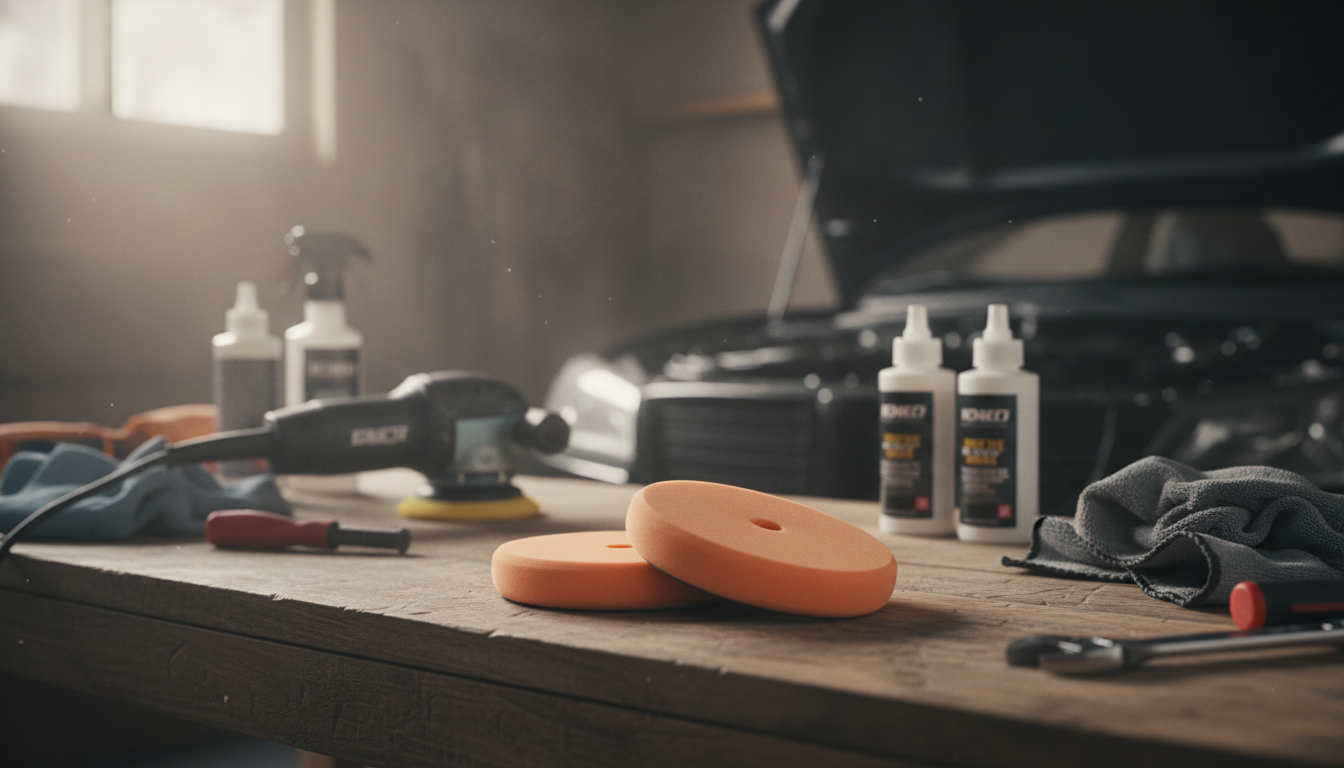
If you’re setting up a defect-focused correction step, the Heavy Cut Foam Polishing Pad Set 5″ Orange for Car Buffers is a practical choice when a firmer foam pad is preferred to level defects efficiently. It works well as the first cutting step before switching to a polishing or finishing pad to refine haze and maximize gloss.
Other in-stock items available in the store include the Rugged AMOLED Smartwatch with 3D Curved Display & Bluetooth Calling (helpful for setting timers and reminders during multi-step details) and the One-Handed RGB Backlit Mini Mechanical Gaming Keyboard (a compact option for workstation setups when organizing product logs and detailing checklists).
Yes, it can be used as a one-step when the paint is harder or the goal is improvement rather than perfection. However, heavy cut often leaves haze, so a follow-up with a polishing/finishing pad is usually needed for maximum gloss.
Having at least 2–3 cutting pads helps maintain performance by rotating and cleaning them as you work. Severe oxidation, large vehicles, or extended correction sessions may require more to keep cut consistent.
Loss of cut is commonly caused by product buildup, paint residue clogging the foam pores, or overheating. Cleaning on the fly, using less product, and rotating to a fresh pad typically restores correction ability.


Leave a comment